


 Lens to L Mount Camera Body Lens Mount Adapter")

 Lens to L Mount Camera Body Lens Mount Adapter")

 Lens to L Mount Camera Body Lens Mount Adapter")

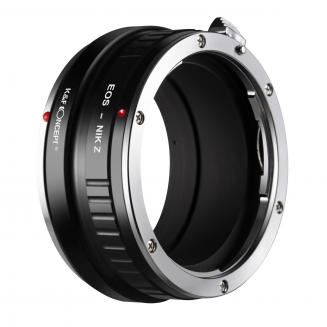

Can Canon Lens Fit On Nikon Camera?
12/09/2024
When it comes to photography, one of the most common questions that arise among enthusiasts and professionals alike is whether lenses from one brand can be used on a camera body from another brand. Specifically, many people wonder if Canon lenses can fit on Nikon cameras. This question is not just a...