How To Remove Camera Lens Protector?
Removing a camera lens protector can be a delicate task, but it is often necessary to maintain the quality of your photography equipment. Whether the protector is scratched, cracked, or simply needs to be replaced, knowing how to remove it properly is crucial to avoid damaging the lens itself. In this article, we will guide you through the process step-by-step, ensuring that you can safely and effectively remove your camera lens protector.
Understanding the Importance of a Camera Lens Protector
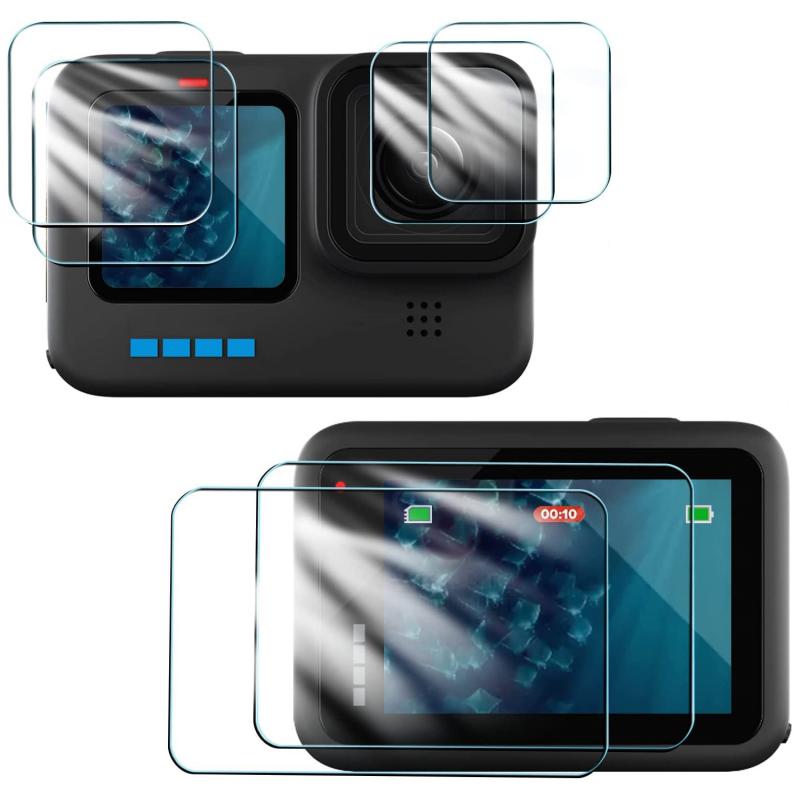
Before diving into the removal process, it's essential to understand why a camera lens protector is used in the first place. A lens protector serves as a shield for your camera lens, protecting it from scratches, dust, and other potential damage. While it is a valuable accessory, there are times when it needs to be removed, such as when it becomes damaged or when you want to clean the lens thoroughly.
Tools You Will Need
To remove a camera lens protector, you will need a few basic tools:
1. Microfiber Cloth: To clean the lens and protector.
2. Lens Cleaning Solution: To remove any adhesive residue.
3. Plastic Pry Tool or Guitar Pick: To gently lift the protector.
4. Adhesive Remover (optional): For stubborn adhesive residue.
Step-by-Step Guide to Removing a Camera Lens Protector
# Step 1: Clean the Lens Protector

Before attempting to remove the lens protector, clean it thoroughly with a microfiber cloth and lens cleaning solution. This will remove any dust or debris that could scratch the lens during the removal process.
# Step 2: Warm the Protector (Optional)
If the lens protector is adhered with a strong adhesive, you may want to warm it slightly to soften the adhesive. You can do this by using a hairdryer on a low heat setting. Hold the hairdryer about 6 inches away from the lens and move it in a circular motion for about 30 seconds. Be cautious not to overheat the lens, as this could damage the camera.
# Step 3: Use a Plastic Pry Tool or Guitar Pick
Take a plastic pry tool or a guitar pick and gently insert it under the edge of the lens protector. Start at one corner and slowly work your way around the protector. Be patient and avoid using excessive force, as this could crack the protector or damage the lens.
# Step 4: Lift the Protector
Once you have worked the pry tool around the edges, gently lift the protector off the lens. If you encounter resistance, stop and reheat the protector slightly before trying again. The goal is to remove the protector without leaving any adhesive residue on the lens.
# Step 5: Clean the Lens
After removing the protector, inspect the lens for any adhesive residue. If there is any, use a lens cleaning solution and a microfiber cloth to gently clean the lens. For stubborn residue, you can use an adhesive remover, but be sure to use one that is safe for camera lenses.

# Step 6: Inspect the Lens
Once the lens is clean, inspect it for any scratches or damage. If the lens is in good condition, you can proceed to install a new lens protector if desired.
Tips for Preventing Damage During Removal
- Be Gentle: Always use gentle pressure when removing the lens protector to avoid damaging the lens.
- Use the Right Tools: Avoid using metal tools, as they can scratch the lens.
- Work Slowly: Take your time to ensure that the protector is removed safely and cleanly.
When to Seek Professional Help
If you are unsure about removing the lens protector yourself or if the protector is particularly stubborn, it may be best to seek professional help. A camera repair technician will have the experience and tools necessary to remove the protector without damaging the lens.
Conclusion
Removing a camera lens protector is a task that requires patience and the right tools. By following the steps outlined in this article, you can safely and effectively remove the protector, ensuring that your camera lens remains in excellent condition. Remember to clean the lens thoroughly after removal and inspect it for any damage. If you encounter any difficulties, do not hesitate to seek professional assistance. With proper care and attention, you can maintain the quality of your camera lens and continue capturing stunning photographs.


![Supfoto Osmo Action 3 Screen Protector for DJI Osmo Action 3 Accessories, 9H Tempered Glass Film Screen Cover Protector + Lens Protector for DJI Osmo 3 Dual Screen [6pcs] Supfoto Osmo Action 3 Screen Protector for DJI Osmo Action 3 Accessories, 9H Tempered Glass Film Screen Cover Protector + Lens Protector for DJI Osmo 3 Dual Screen [6pcs]](https://img.kentfaith.com/cache/catalog/products/us/GW41.0076/GW41.0076-1-200x200.jpg)

