Reviews
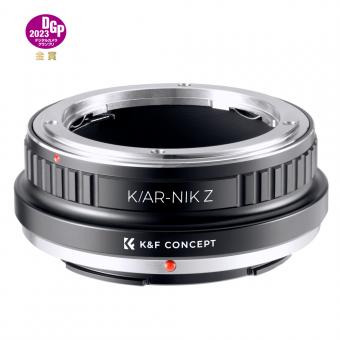
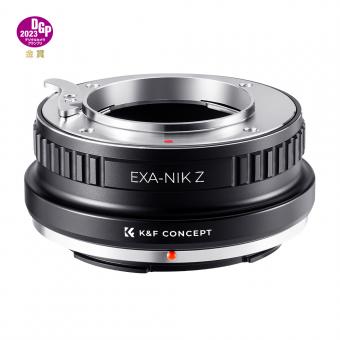
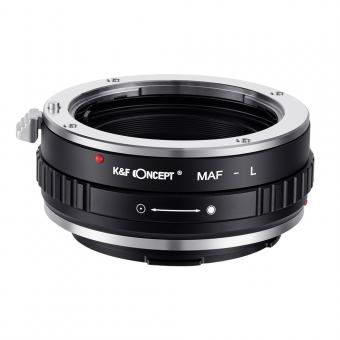
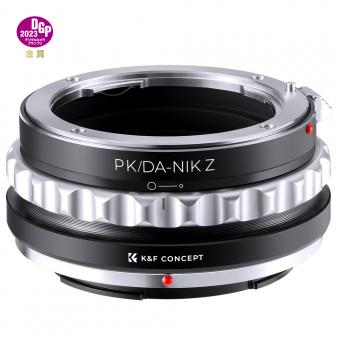
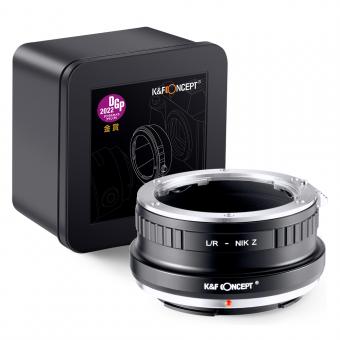
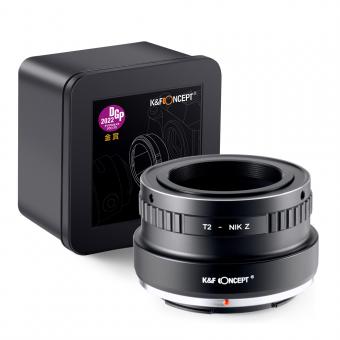
Manual aperture lenses only!
The adapter itself seems pretty good, well made, fits well and works just fine on the one manual lens I own.However on all the other lenses I own that do not have a manual aperture ring it's basically useless! It stops down to the maximum aperture and the little Nikon 1 can't handle hi ISO very well, so unless it's on a tripod shooting landscapes or even night sky shots then forget it.
26/09/2018
Related Reviews
A must have
I’ve only had this lens for a week, but omg I love it! Unlike my canon rebel 18-55 kit lens.. it handles low light beautifully, my images are sharper and I don’t have to worry about noise nearly as much. Not to mention it has a wider aperture of which I much prefer when I can’t avoid busy backgrounds, it’s small and compact. It doesn’t zoom but I really don’t mind, that just takes getting the hang of.. I don’t mind moving around, I need more exercise anyways lol. This lens is a must have for anyone who doesn’t have $500 or more to drop on a good lens or is a beginner.
23/09/2022
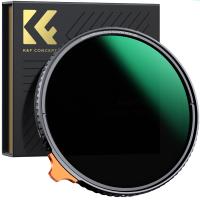
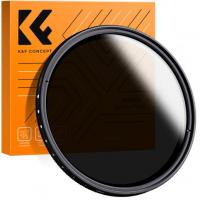
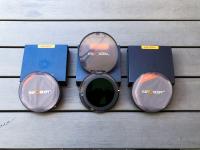
Great ND filter for all situations!
I use this primarily for video (so that I can set the aperture @ F2.8 - and then reduce light as needed). The "handle' makes it easy to use to quickly dial in the amount of light I need for a scene (looking at the histogram on the back of the camera).
12/04/2022
Fills expectations
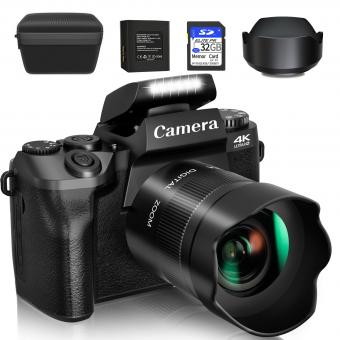
I like the toughness and possibilities of this camera. Not worried about sharing with kids which leaves other delicate camera with me. Basic aperture and shutter settings but good enough for travelling.An issue I found is compatibility between Apple Photos and this camera’s RAW format, which leads to not having thumbnails in albums requiring a few more steps for post editing.
14/09/2021
Worth the Price
Another excellent quality book from DK (Penguin Random House). Full of color illustrations and short, easy to understand explanations. Many of the instructive photos include the camera setting ... a valuable aid helping me to understand the inter-relationship between aperture, shutter speed, and ISO (main elements of the exposure).
03/09/2021
Very rugged compact camera
I own a lot of cameras from 4X5 view cameras, Hasselblad, Canon EOS 5D MkIV and mirrorless cameras. So why would I buy this camera? I wanted a pocket sized camera that was rugged, water resistant and freeze resistant. I travel frequently to Alaska and shoot in difficult conditions. I wanted a camera that could shoot raws for processing in DXO Photolab, Lightroom and Photoshop. I did not expect professional quality images - just a go anywhere camera. The TG-6 seems to fill that need.It is ironic that an experienced photographer can pick up a professional camera and start shooting right away whereas with this camera you need to spend some time learning its many features to get the best results. The TG-6 has many modes to choose from including panoramas, HDR, focus stacking and macro as well as micro photography. Some of the auto modes and special features only work as jpg images. It also offers "manual" modes like aperture and shutter speed priority. These are much more limited than full size cameras, but are workable with a little practice.I mainly used aperture priority raw shooting. Aperture settings are mainly controlled by the focal length. In other words the aperture will decrease with focal length. Manually setting the aperture is very limited. For example, at maximum zoom the default aperture is f6.3 which can be set to f4.9 or f18. That's it. Cameras with small sensors typically do not do well with small apertures. They lose sharpness. Thus, you would likely want to use f6.3. Autofocus seems to be reasonably accurate using a Spyder Lenscal. You can lock focus by pressing the shutter half-way and then reframing the shot. Good depth of field may need some practice.The 12 megapixel raw images definitely need some processing. I'm using DXO Photolab 3 which has a profile for this camera. Some additional sharpening can be achieved with the NIK raw presharpener used very sparingly. The images won't hold up to enlarging to any great extent, but will be adequate for screen display and Facebook. Large prints could be problematical. Avoid high ISO's as they will be very noisy.The automatic features of this camera are intriguing. Macro and micro shots are amazing. You will need the ring light attachment, however. Panoramas are easy to do, but may have darker streaks where they knit together. This can be adjusted out with software. The HDR capability is very very limited compared to larger cameras. Night shooting settings are easy to use, but will produce noisy images of little value.I have not tested the underwater capabilities. Nor have I tested the video to any great extend. Not comments on those modes.I prefer cameras with real viewfinders. The screen on this camera is limited, but adequate even in bright sunlight.The old saying that the best camera to shoot with is the one you have with you is very true with the TG-6. It is more versatile and rugged than a cell phone. It shoots raws and you can cary it anywhere. It is not a professional camera, of course, but it will do very well once you learn how to shoot with it.
23/06/2021
> A Review & HOW TO USE THE TT560 FLASH
FEATURES> Uses 4 AA batteries> "Mini-stand"---may be used as a stand, or as tripod adapter. However, if you want a short stand, I suggest
Vivitar VIVMPT100BLU 6-Inch Table Tripod (Blue)
> Standard sych socket, and standard hot shoe> Power input socket--I have not found a specific battery pack charger for this unit.>> It looks like the rechargeable battery pack
NEEWER PB3000 3000mAh Speedlite External Portable Flash Battery Pack backup power source for CANON 430EX 540EX 550EX 580EX 580EX II
or the less expensive 8 AA cell power pack
NEEWER® External Portable BATTERY Pack Backup Power Source for Canon 600EX, 580EX II, 580EX, 550EX
would work.> Velvet-like storage bag.PROS> Powerful> Versatile: head rotates up/down and sideways. Built-in option defuser.> 8 easily selectable power levels, equal to a range of 8 f-stops; from full power down to 1/128th power.> S1 or S2 selectable. Many modern digital cameras have a "preflash" before the main flash. S1 syncs with the first flash, S2 syncs with the second flash.CONS---general> Practically speaking, this is strictly a manual slave flash. That is, there is no TTL metering etc. In these days of digital photography, that isn't too much of a drawback, but it does mean that you have to guess at the settings. However, if you are consistent with your settings (ISO and F-stop) you'll be surprised at how quickly you are able to "guess" the correct power level (on the flash) the first time.> Large--7" x 2 3/4" X 2"--you need a big gadget bag to carry it around in with your camera.> Works fine in very heavy shade or a inside, but in sunlight or even in bright shade, the slave doesn't fire (presumably because it doesn't see the weak in-camera flash). Often one needs flash lighting to fill-in shallows in bright light. In shade one often needs flash lighting to improve saturation, to improve color balance, to show off texture, and to isolate the subject from the background. The solution is a sync cord, which I now use all the time
NEEWER® TTL Off-camera Flash Hotshoe Connector Cord for Olympus Panasonic Camera Speedlite
. Just set the flash on "M" using the mode button when using a sync cord.FOR MACROPHOTOGRAPHY> The TT560 is heavy---about 16 ounces with batteries. Much too heavy for my macro-light bracket
Neewer® Macro Shooting Flexible Dual Arm Dual Hot Shoe Flash Bracket with A Mini 2D Level Gauge for All Camera Flash EXCEPT Sony, Minolta
> A tiny, inexpensive,
PLR Studio Series Pro Slave Flash Includes Mounting Bracket For The Panasonic Lumix Digital SLR Cameras
works well for macro work. However, you have to change the distance, ISO, or F-stop to change the light level.> I find that the TT560 is by far the most convenient flash for macro work, because I can just set up my camera for highest quality (e.g., ISO 200, F16, etc.) and use the power levels of the flash to adjust the light level.> Using a sync cord (instead of the built-in flash to trigger the TT560 as a slave), also avoids the built-in flash from washing out detail in macro-work.RECOMMENDATION> If you have the luxury of working at your own pace, then the exactly predictable output of the TT560 is better than that of a (Nikon, Canon, Lumix, etc. branded) TTL version of the same flash unit at 10x or 15x the price, because sometimes the TTL circuitry works against you. But, if you must work fast, or only have one chance to catch a shot, then the TTL circuitry (of more expensive models) is worth the exorbitant price.> The TT560 flash unit has no metering circuits, and your camera will NOT adjust to the flash. So, you have to adjust your camera (mostly the aperture and ISO) and/or the power level of the flash to get properly exposed photos. Unfortunately, modern cameras resist such manual adjustment. Even if you set the shutter speed and aperture manually, your camera will probably pump-up the ISO indoors etc, defeating your efforts. So you also have to set the ISO manually.Details:> Your lens will probably be sharpest between f5.6 and f11. The larger the number, the wider the depth-of-field. Usually, you'll want a wide depth-of-field. So, set your camera to manual or aperture-preferred, and the aperture at f8. For macro work, you probably need the extra depth of field at F16.> IMPORTANT: Set the ISO manually at 200 in your camera.> Take a picture at full power. If the picture is too dark, you can increase the ISO up to ~800, if that isn't bright enough, then open your aperture to 5.6. Alternatively, (in manual mode) you can set the shutter to a slower speed (say, down to 1/30 sec) to use more of the ambient light.> If ISO 200 at f8 (your aperture) results in a picture that is too bright, then reduce power level of the flash.> To get the unit to work as a slave, you may need to set your in-camera flash to "force flash" and highest exposure compensation if you have that option. Alternatively, the use of a sync cord is easier.FLASH VS FOCAL LENGTH> This (and most other) flash units will cover the angle of standard wide-angle lens (28mm lens in 35mm format; 14mm in 4/3rds format; etc.), especially if you use the built-in optional diffuser. So with the same ISO and aperture, you can illuminate more people with a wide angle lens (or a zoom zoomed to wide angle). However the result will look like a flat flash picture. For a very large group or a small room, you may have no choice than to use a wide angle lens, but if you can step back, with a narrower-angle lens (without sacrificing too much in aperture or ISO), you'll get a better photo:> A "normal" lens (50mm in 35mm format; 25mm in 4/3rds format; etc) etc. corresponds closest to the view of the human eye, and therefore the brain translates 3D information from such a photo. If illuminated by flash, a photo taken with a "normal" lens will have greater "depth-of-illumination" (e.g. the ears will be nearly as brightly lit as the nose) than the same photo taken with a wide angle lens, so the photo will have greater depth and look less like a flash picture. Indeed, most pros have a (non-zoom) normal lens to take pictures of groups or children, etc.> A moderate telephoto (75-135mm in 35mm format; 40-70mm in 4/3rds format; etc) is best for portraits, babies, etc., and pretty much essential for flash-illuminated portraits to be evenly illuminated. That is, the depth-of-illumination will be even greater than with a normal lens. Noses will appear smaller, and in general the photos will be more flattering.> These comments also apply to zoom lenses: In general, stand back and use a narrow angle when you can, at the lowest ISO and smallest aperture (up to f11) that you can. Usually that will require a relatively powerful flash, which is what your buy a TT560, or similar flash unit, for.> Click on “Stoney” just below the product title to see my other reviews, or leave a comment to ask a question.
12/04/2021
Great DSLR for newbies
Agree with most of the positive comments here. I finally made the jump from point and shoot to DSLR. Picture quality is way better in indoor or low light shots. I now realize how flash pictures are generally bad (and try to avoid if possible). I was unsure about the wide angle lens, so I bought an additional 50-250 lens. Well, I hardly ever take that out. The default lens is great and the wide angle setting is what I end up using most of the time. There are many automatic modes for newbies, but I like the straight forward aperture priority mode.It certainly is bigger than a point and shoot but it is not very heavy. Finally, there are no autofocus problems as some reported. However, I don't use the default 9 point AF. The camera assumes the wrong area of focus in full auto mode and pictures may come out blurry. I use only the center AF point and make sure its where I want the focus to be. It focuses sharp and fast.
21/02/2021
It's a beginner camera, don't expect miracles.
If you're on the fence about buying this DSLR consider a few things. Firstly, what level of photographer do you think you are? If you can honestly look at your portfolio and say, "Wow, I'm a professional." Then why are you even reading this review? You should be fingering through reviews of much higher grade photographic equipment. However if you do believe that you are indeed, a beginner, then purchase this camera, it's an amazing deal. Be warned, this IS NOT, a professional level camera, if your shots look soft, it's more than likely the quality of the kit lens that comes with this camera. When opened to the widest aperture, pictures will be soft across the frame. The lens needs to be stopped down to at least f5.6 to achieve repairable sharpness. Also, don't be alarmed by the cheap feel of the T3, it's a sturdy, dependable body.After a few months of practicing you'll surely be ready to move on to a different camera, and I don't blame you. The Canon T3 isn't amaizngly feature rich. But this is a great stepping stone to better cameras.
07/02/2021
Related Articles
Top Bestselling Products
Products You May Like
$162.99 $106.99
Blog You May Like
Related searches
Adapted Manual Lens Aperture
Nikon Manual Aperture Adapter
Manual Aperture Lens Canon Mount
Adapted Manual Lens Aperture Ring Not Working
Sony A Mount Body Only
Sony E Mount Manual Lenses
Autofocus Adapter For Manual Lenses Canon
Adapt Manual Lenses For Canon Mount
Manual Focus Lenses For Nikon F Mount
Best Nikon F-mount Manual Lenses

